Hasselblad H3DII Basic Use
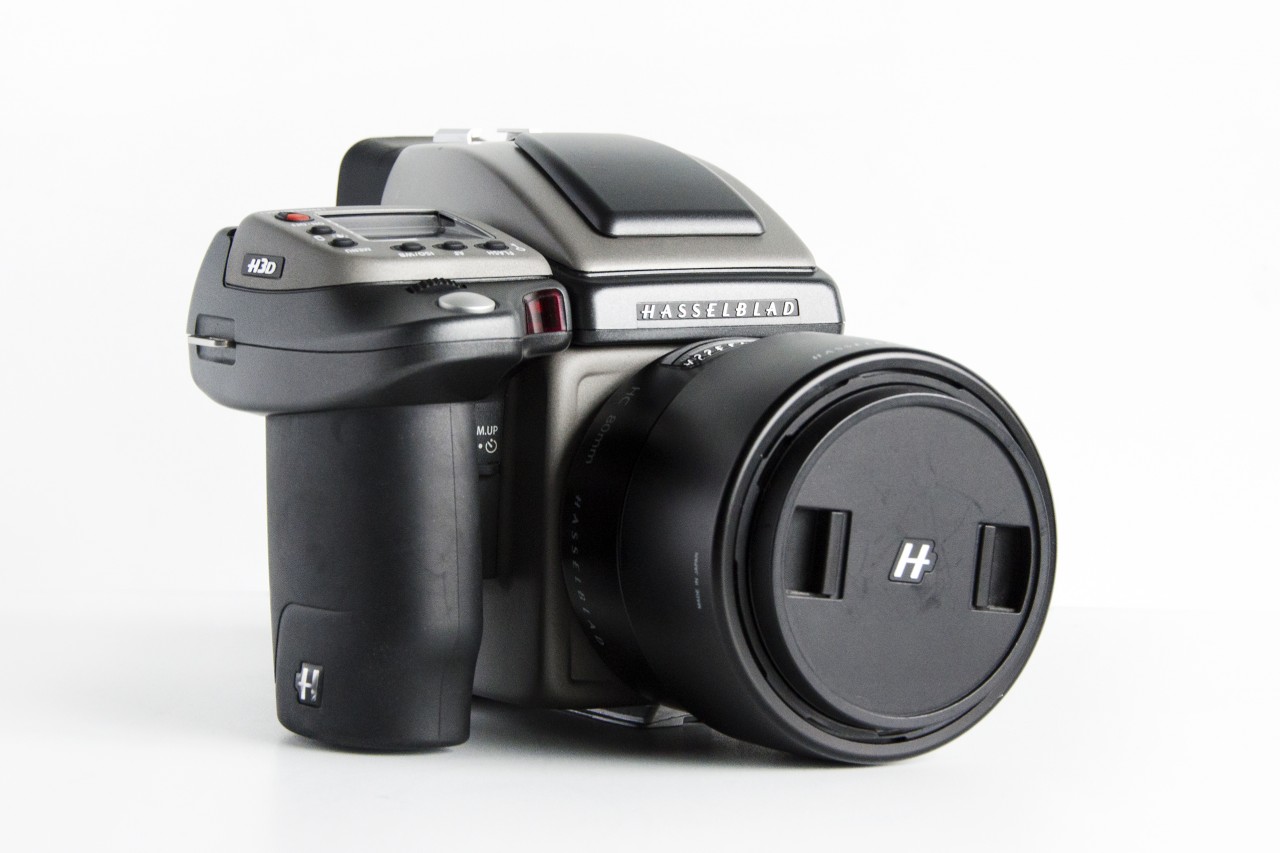
The Hasselblad H3DII is a thirty-one megapixel medium format camera that can be used in-the-field with a compact flash card or tethered to a computer in a studio environment. Please note that the unit available from the University of Guelph-Humber is for on campus studio use only.
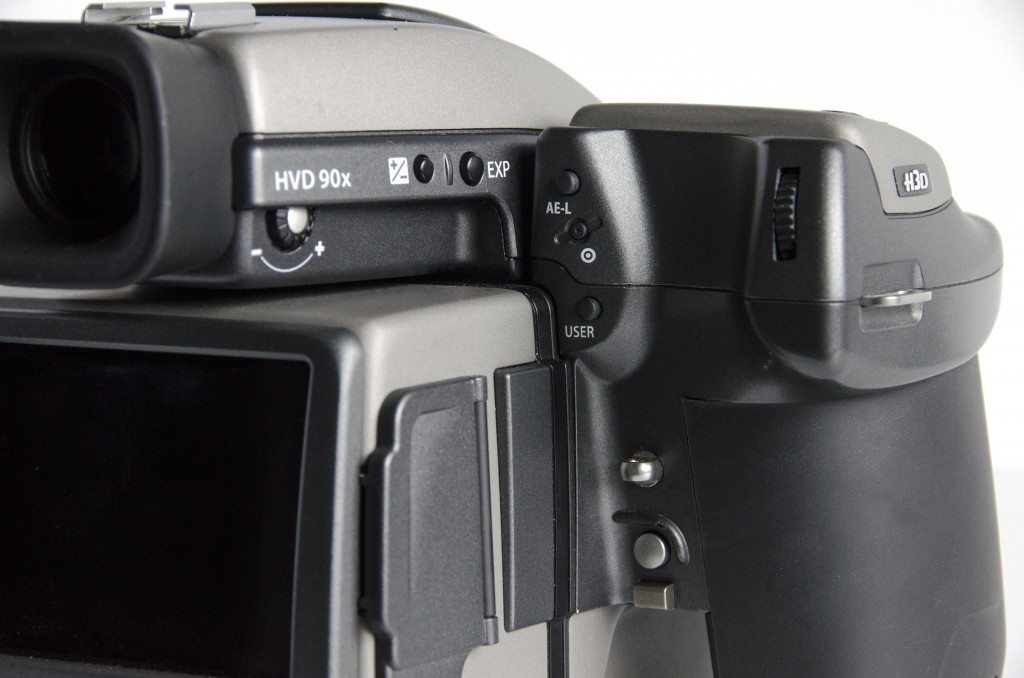
General Overview of the Body
Camera Top
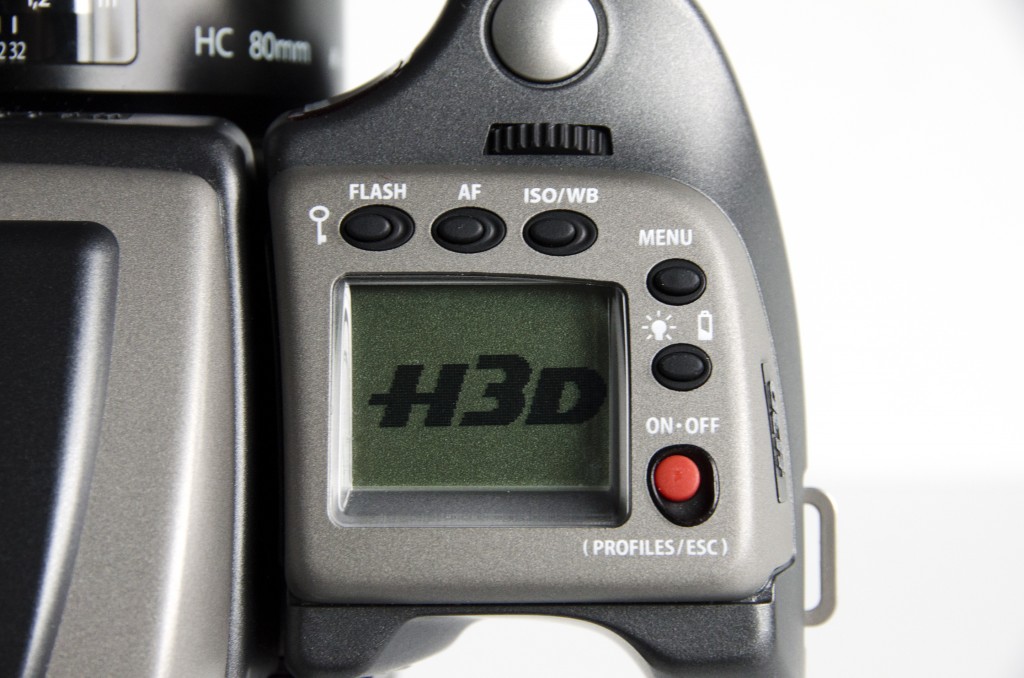
FLASH/CONTROL LOCK: Locks settings to avoid accidental changes. Also accesses flash settings and acts as an EXIT button when inside the Menu.
AF: Accesses focus modes.
ISO/WB: Accesses ISO and White Balance settings. Also acts as SAVE button when inside the Menu.
LIGHTBULB/BATTERY: Illuminates display. Hold button to display battery information &
number of exposures taken.
MENU: Accesses Menu.
ON-OFF (PROFILES/ESC): Turns the camera on and off. Accesses Profiles and acts as an escape button for other functions.
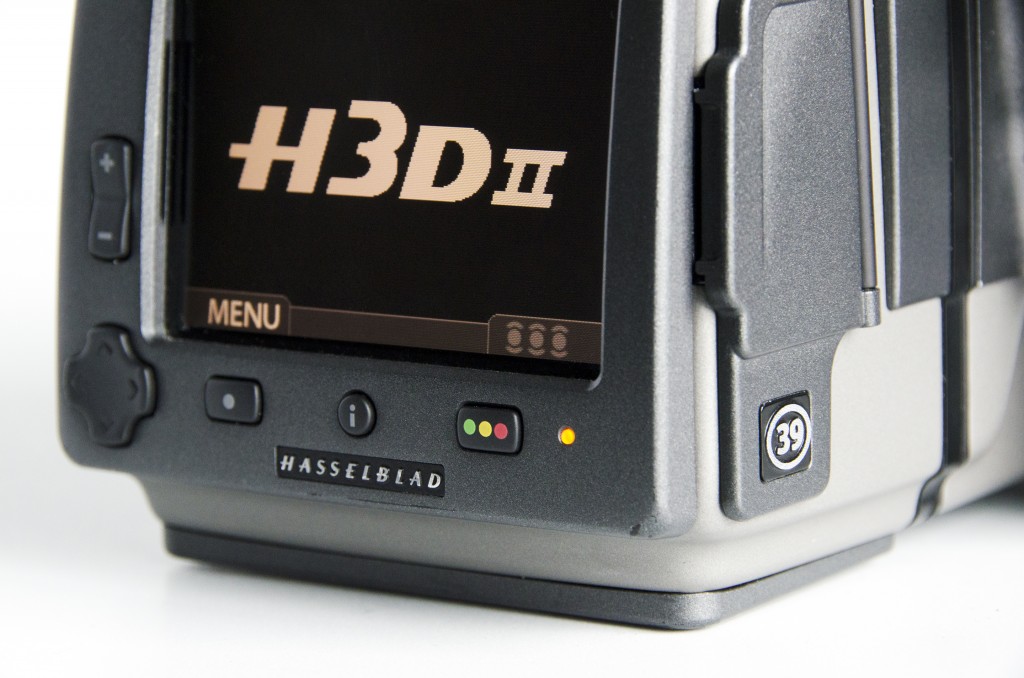
Digital Capture Unit
This refers to the boxy area on the back of the camera where the LCD screen is found. You can access the MENU from here, in addition to using the MENU button found on top of the camera. You can also use the +/- button to zoom in and out of a preview image and you can rate your images using the stoplight button.
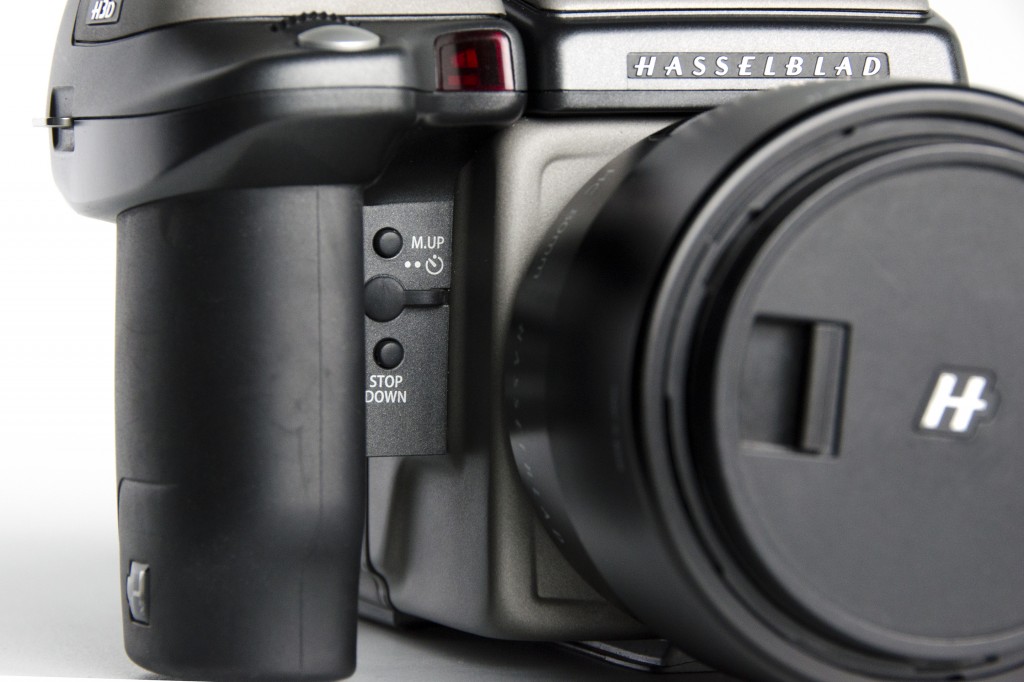
Camera Front
Stop Down: Press this button to make a visual check of the depth-of-field on the viewfinder screen at the chosen aperture. The aperture will close according to the setting and remain closed as long as the pressure is maintained. You can alter the aperture at the same time to see the changes taking place.
Computer Requirements
To shoot tethered with the H3D II, or to load images directly from the H3D II to your computer, you will need a device with a FireWire 800/400 connector. You can also use a card reader to read the images stored on the removable compact-flash card. Most recent Mac computers (both desktops and laptops) are compatible with the H3D II.
Most recent desktop PC computers are compatible. Most laptop PC computers are NOT compatible. If you want to power the H3D II from a PC laptop, you must ensure that the FireWire port on the computer is capable of supplying power. Please request the Mac laptop from the Media Cage if you have any concerns about using your personal laptop with the H3D II.
Shooting Tethered with Phocus
NOTE: The Mac laptop available from the Media Cage has a Lightroom plugin for the H3D II if you prefer to shoot tethered through Lightroom 4. A folder titled “Lightroom H3D II Tether” can be found on the Desktop. It contains the plugin and instructions for use. The H3D II kit comes with a copy of Phocus, Hasselblad’s own image processing software. You can install this on your personal computer, or you can borrow the Mac laptop reserved for Hasselblad use from the Media Cage. Note that all Hasselblad software is available as a free download from the Hasselblad website.
1. Connect the FireWire cable provided with the kit to both the camera and the computer.
2. If necessary, install the software provided.
3. Launch Phocus and select Standard Mode.
4. When Phocus is open, you will see the Hasselblad H3D II listed under Devices in the File Browser window on the left hand side of the screen. This area lists information concerning destination folders, collections, hard disks and other devices.
5. Phocus will automatically store your images in a folder titled Phocus Captures, located on the computer’s hard drive. You can designate a new location if you wish. To do so, create a new folder where you would like to store your images. In Phocus, use the file File Browser to find this new folder. Right click on the folder and select Use As Capture Destination.
6. The central section of the Phocus window is taken up by the main Viewer and the Thumbnails window (with a small toolbar separating these two areas). On the far right is the Tool Area where groups of tools can be found under four main tab headings.
7. In the Capture tab of the Tool Area, you can adjust camera settings, exposure and white balance. You can also use this Job Info section of this tab to select a new destination for your files, title and sequence your images, etc.
8. The Adjust tab provides more detailed tools for working with your images, such as Curves, Lens Corrections, Crops & Orientation, etc.
9. The Toolbar along top is where you’ll find the Capture button, which allows you to fire the camera from Phocus. You can also hit Command N or depress the shutter button on the camera to make an image.
10. Immediately after exposure, the capture preview appears in the Viewer and in the Thumbnail Browser. An icon appears on the left hand side of the bar just above the Viewer to indicate progress. It disappears when the capture has been stored.
11. You can use the built-in tools in Phocus to make typical adjustments to your images – cropping, colour balance, curves, etc – or you can export your images to another image editing program (eg. Photoshop).
12. All tethered captured are stored as lossless compressed 3F files in the capture destination folder (the file extension is .fff). These files can be exported as jpegs, tiff or dneg files.
